Tuesday, July 22, 2014

My favorite summertime treat--Bruschetta!


Nothing says summer like fresh produce! 

One of my all time favorite things to make in the summer is bruschetta (pronounced "brew-skett-ah" for us non-native Italians). For us in northern Minnesota, we haven't quite reached that gardening phase in the summer when you're surrounded by a million tomatoes that seem to ripen (then overripe) by the second but when we do, this is my go-to recipe to use up a lot of tomatoes quickly. 

Tomato Basil Bruschetta

8 small tomatoes, about 4 cups diced (Roma or plum tomatoes are my favorite for this but any will do)
8-10 fresh basil leaves (3-4 TB)
3-4 garlic cloves (2TB)
2 TB extra virgin olive oil
3 TB balsamic vinegar
Kosher salt, to taste
Fresh cracked pepper, to taste
1 loaf of french bread and additional olive oil and garlic for seasoning

Directions:

Peel the tomatoes. To do this, put the tomatoes in boiling water for no more than one minute to loosen the skins (parboil). Shock them with cold water to make sure they don't stew. Peel the skins off. Cut the tomatoes into wedges and remove the inner juice and seeds. Dice the tomato into small pieces (like the consistency of chunky salsa).

Finely chop the fresh basil and garlic cloves. Combine with the tomatoes and add the olive oil and vinegar. Taste as you go and adjust to your preferences. Add salt and pepper to taste. Refrigerate for at least an hour to allow the flavors to combine. This can be made a day ahead and enjoyed several days after (if it can last that long!)

To prepare the bread, slice the loaf into 1/2 inch slices and lay out flat on a cookie sheet lined with parchment paper. Brush a bit of olive oil on both sides (or leave it dry if you'd prefer to save a few calories). Bake at 375 for about five minutes on each side or alternatively, broil on low on each side for a few minutes. For extra flavor, sprinkle some salt or once the bread has cooled a bit, you can rub fresh garlic clove lightly over each piece. 

Serve together. You could also garnish with extra basil or a small hunk of Parmesan or mozzarella cheese. 

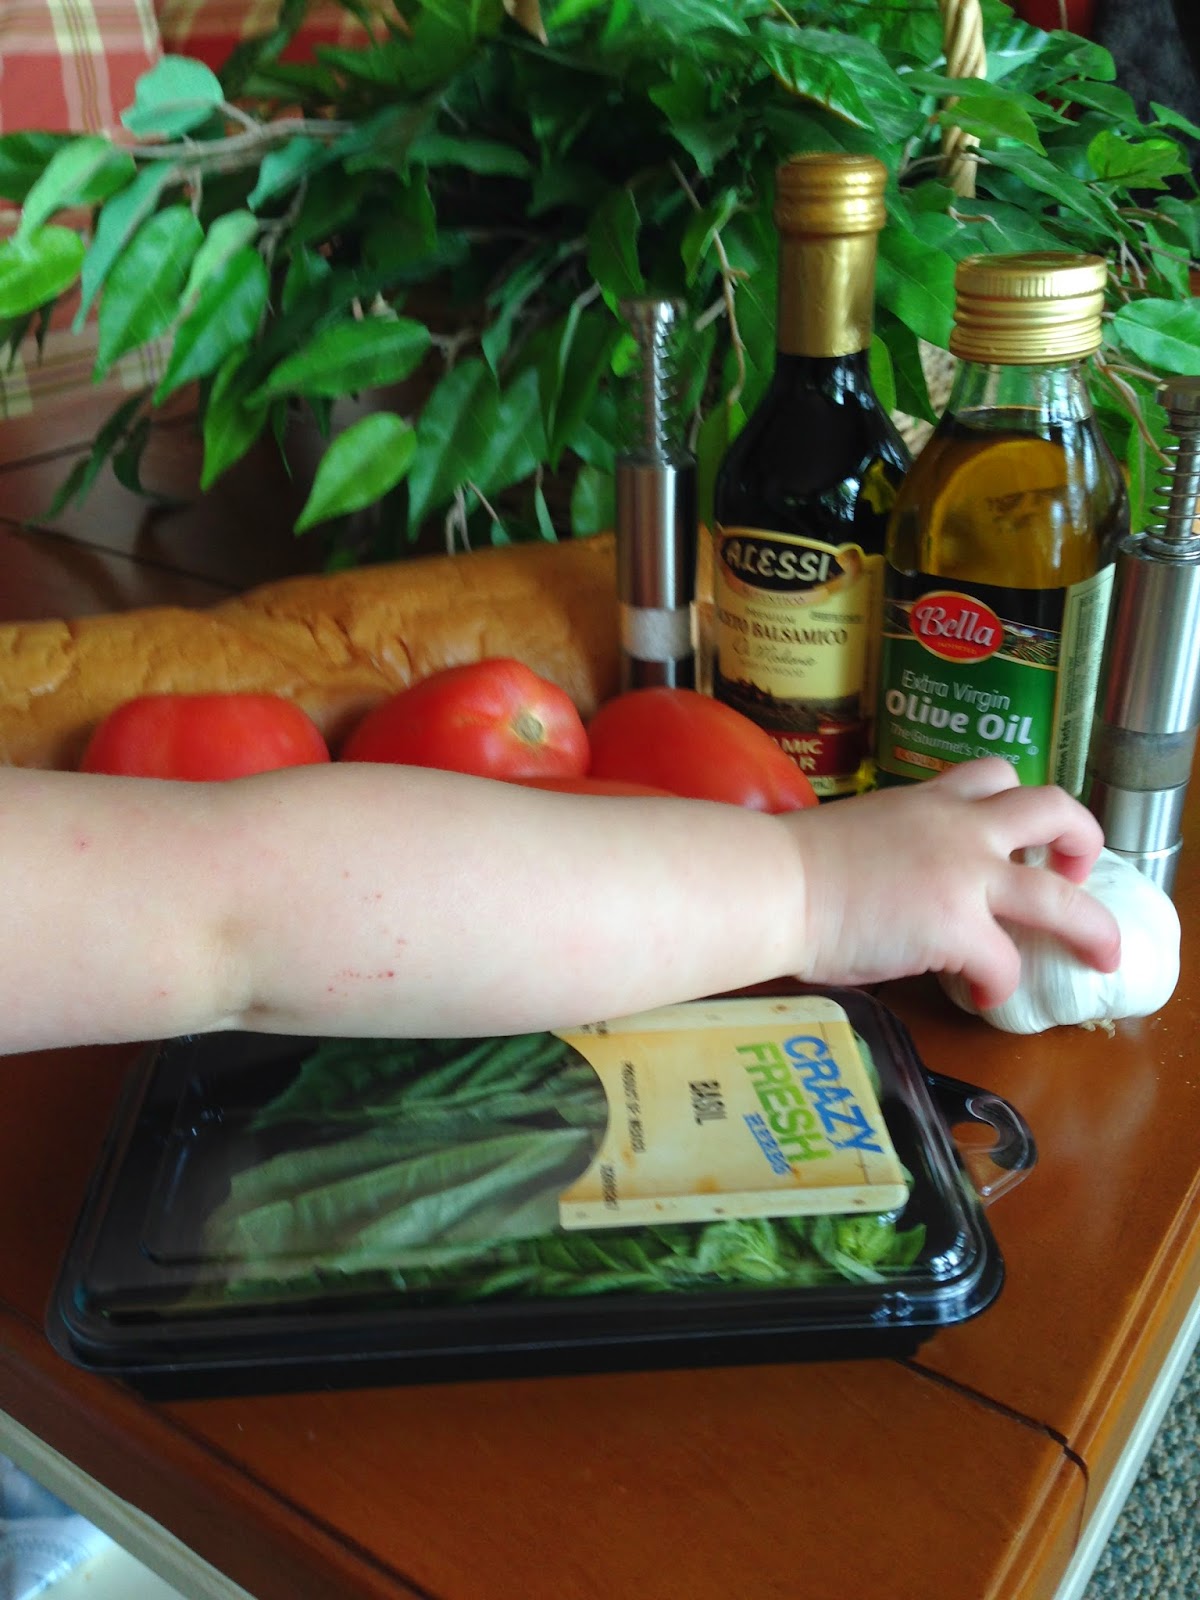
 some simple ingredients

 parboiling the tomatoes

see how easy that skin comes off? so worth the minute to boil them!

 the admittedly messy process of taking out the juice and seeds! 
I always have tomato juice dripping from my elbows

dice up the tomatoes nice and fine

basil and garlic

everything combined together! Yum!

 there it is... about to disappear!

Photos were all taken with my little iphone since I didn't have my fancy Canon at the lake house. Nice work, iphone. I knew you were meant for more than facebook!

 Enjoy!

-Nina

gigi kept taking bites out of my tomatoes and stealing my ingredients. ha ha! nothing like a toddler to make you laugh at your own foodie-ness

Monday, May 26, 2014

Make Ahead Monday: Freezer Meals


We're going on vacation next week--without children. Yikes! I can't wait but of course leaving my children for a week means much pre-planning and worrying on my part. Grandmas are coming to the rescue to watch over the babes but to keep things easy on them I prepared a bunch of freezer meals in advance so it would be one less thing for them to worry about. 

This is the second time I've done the crazy bulk assembly of freezer-friendly slow cooker meals and I'm thrilled with the result. One big list preparation, one shopping trip, a couple hundred bucks and one afternoon of assembly means a few months worth of meals that I don't have to plan and prepare for (mostly anyway). 

4 hours + $300 = 34 meals!
This is me looking like a crazy carnivore at the grocery store. 
Good thing there was a rockin' sale on meat for Memorial Day!

To make things even easier for you, I'm sharing my preparation so all you need to do is print and go! On my first round, I came across this wonderful little blog "Saving You Dinero" where she had posted several rounds of freezer meals. I repeated my favorites for this second time around. For my round II, I had to go to one of my favorite blogs Six Sister's Stuff. Both provide recipes, additional pictures and shopping lists but since I compiled them for my own use, I'll share them here too. I doubled everything so that I could make two of each meal.

Pulled Pork Sandwiches
Salsa Verde Pork 
a little spicy but so good!
Southwest Chicken
Hawaiian Chicken
 Beef Burritos
Garlic Honey Chicken 
serve as a protein or as a sandwich
Chicken Fajitas
Parmesan Honey Pork 
one of my hands down favorites!

Creamy Ranch Pork Chops
Creamy Salsa Chicken
Italian Beef Sandwiches
Sweet Teriyaki Chicken
Sweet Tangy Meatballs
Pineapple Glazed Ham
Beef and Mushrooms
Black Bean and Corn Salsa Chicken
BBQ Cranberry Chicken


all of my grocery items stacked and organized. I pre-cut my onions and 
bought some squeeze garlic instead of doing the extra mincing.

Parmesan Honey Pork... mmm...one of my favorites!
I tossed all of the ingredients in a freezer bag and made these labels so they would be easy to read and I'd remember additional instructions and what to serve with the meal.

 Here's round II of my freezer meals.

To find more recipes you need do little more than google "slow cooker freezer meals" or do a quick search on pinterest to find dozens of great website and full blogs committed to this effort (...heck maybe that's how you ended up here.)

After the first time I did my freezer meals, I found that writing on the bag worked well at first but by the end, much of the writing started to rub off. I decided to take it up a notch and buy some some shipping labels that I could type instructions on and put in a side dish suggestion or other instructions (some recipes have you add cheese, shred meat, serve on buns, etc.) so if my dear husband or grandma is preparing the meal they don't have to reference back to the recipe. 

Enjoy my handy work and give it a try! If you're a busy mom like me, you'll relish every time you pop open the freezer wondering "What's for dinner?".


-Nina

Tuesday, May 13, 2014

34 before 34: Catching up...


As I shared in my last post, I've been a little off of blogging. It started with the holidays and just continued through a new job, a big move and some pretty major (awesome!) life changes. 

Back in December, I shared that a lovely friend of mine had written a "30 things to do before I turn 30" list. I was inspired and decided to write my own list. Some big things, some little things. Simple and a little random was the theme I was going for. I just started brainstorming and tried not to edit myself too much and came up with my "34 before 34" list (afterall, why should the 29-year-olds have all the fun?).

I'm just about 6 months away from my 34th birthday so it's about time I caught you up. 

#2. Watch It's a Wonderful Life
I can't believe I've gone my whole life and just never sat down to watch it. Well I did this past Christmas and it was lovely. At first I didn't get what all the fuss was about but the movie ended and I found myself crying like a baby and in the Christmas spirit!

#7. Attend a conference
In April I attended a regional conference for the National Association of Campus Activities. It was so wonderful getting to know my students better just a few weeks into my new job (I work with student activities at Bemidji State University). NACA was a fascinating conference--not as much education as I would have hoped but A LOT of entertainment as artists showcased their talents for campus activities board members.

#15. Take Curly Girl to a show and make it a special date night
We took Curly Girl to see the Nutcracker in December. We put her in her Christmas dress and took her out for dinner while GiGi stayed home with a babysitter. She loved the first half and had such a great time but a bit of a meltdown as we neared bedtime and tried to get through the second half. She talked about it for weeks afterward!
Okay, so not my best photography. ALL of my pictures turned out horribly so good thing I have the memories to sustain me. 

#17. Start the girls' savings accounts
A new house. A new mortgage. A new bank. This was an easy one. We just opened them right up with everything else. Now I need to log on and start an auto-transfer so I don't forget to fill them. (Added that to my to-do list today!)

#18. Buy something from Zulily
Man! Being a young mom, you know I see Zulily advertisements online EVERYWHERE! I had always been curious but never bothered to explore it. I finally started an account and have now made two purchases--a scarf, a tote bag and a set of curtains and now a second order of summer clothes. This could become addicting...

#21. Become a person who makes my bed every day {okay, most days}
Done! ... most days. So funny how you can just make a decision and spend a few weeks getting into a habit and accomplish something you've been thinking about your whole life. (If only giving up sweets could be so easy!)
And who wouldn't want to plop down in that bed every day?
   
#22. Do a 3 day juice fast
We did this after the holidays when we were all junked out after too much sugar and too many food-filled family gatherings. It was actually an awesome experience and one I think I'll repeat at some point. We did Joe Cross' 3 Day Juice Cleanse featured on the Dr. Oz show. We drank 2-3 juices a day (five was just way too much!) and ate a clean, vegan dinner. We both dropped 10 pounds within the week, which slowly crept it's way back when we returned to normal eating (not that weight loss was the goal). We both felt super energetic in the days that followed and felt so much cleaner and healthier.


#26. Explore Bemidji, Minnesota
I suppose moving there counts. I've done more exploring that I imagined when I wrote that list. Ha ha!

#30. Start wearing jackets
Jackets always look great but for some reason I always worried that they'd be too much in my day-to-day wardrobe. Wrong. They always look great! I purchased three to start with from my very favorite boutique and now I've always got my eye out for them. I probably slip one on at least once a week and never fail to get compliments. 

Saturday, May 10, 2014

The BEST Chocolate Chip Cookies…ever


Well… it's been a while. Sorry about that. I know my two followers have been sitting on the edge of their seats. ;)

So much has changed since I last posted in December.I got a new job. My husband got a new job. We bought a new house. We moved… and it's delicious. 

We decided that it was time for some serious change. When an awesome job opportunities came along in a community that we've been dreaming of moving to and it all came together in a matter of days, we knew God was shoving us out the door. Much scurry and stress later, we have finally settled (mostly) and I've been itching to get back on my blog on my old computer at my new desk. 

To celebrate my return to blogging, I thought it only fit to recover with one of my old faves. THE best chocolate chip cookies. ever… ever. 

Are you old enough to remember email forwards? If you are, you may remember an oldie but a goodie about a woman and her daughter who went to Neiman Marcus for lunch and the mom so loved the cookie she had for dessert that she asked for the recipe only to be charged some insane amount of money so she got her revenge by sending it out to everyone she knew over email asking them to forward it. False. But, a good cookie recipe regardless. So here's my slightly modified version. 

The Best Chocolate Chip Cookies. Ever. 
click above for easy print version

2 c. butter, softened
2 c. white sugar
2 c. brown sugar
4 eggs
2 ts. vanilla
5 c. oatmeal, blended
4 c. flour
2 ts. baking soda
2 ts. baking powder
1 ts. salt
12 oz. Hershey bar, grated
24 oz. chocolate chips (2 bags… I like milk chocolate chips for this one)
1-2 cups of chopped walnuts (totally optional. I don't like a ton of nuts myself.)

Cream butter and both sugars. Add the eggs and vanilla. Measure the oatmeal and blend in a blender or food processor to a fine powder. Mix flour, oatmeal, salt, baking powder and soda. Grate the Hershey bar and stir into the flour mixture. Combine the flour and butter and sugar mixture. Add chocolate chips and nuts. Roll into balls (about the size of ping pong balls) and place on a parchment papered cookie sheet. Bake for 10 minutes at 375 degrees. Makes 12 dozen (aka, a lot!)

Note that the cookies might look a little underdone at 10 minutes but I promise they turn out perfectly every time! Not too soft, not too crumbly. 


Blended oatmeal in my ninja

 
I used to actually bust out my box grater and scrape my knuckles on this madness… I since learned to use a ninja or food processor. It's a little less perfect but saves me a lot of time and frustration. I'll accept a little help in the kitchen any time. 

Here's that beautiful chocolate all crumble up to mix in with my flour. 

The "real" recipe calls for 3 cups of walnuts! I think it overwhelms the chocolate so I just grab a good handful of walnuts, chop them fine and toss them in. 

Here's the dough. Don't be afraid to get your hands in there. It's way too much dough to waste time with a wooden spoon. 

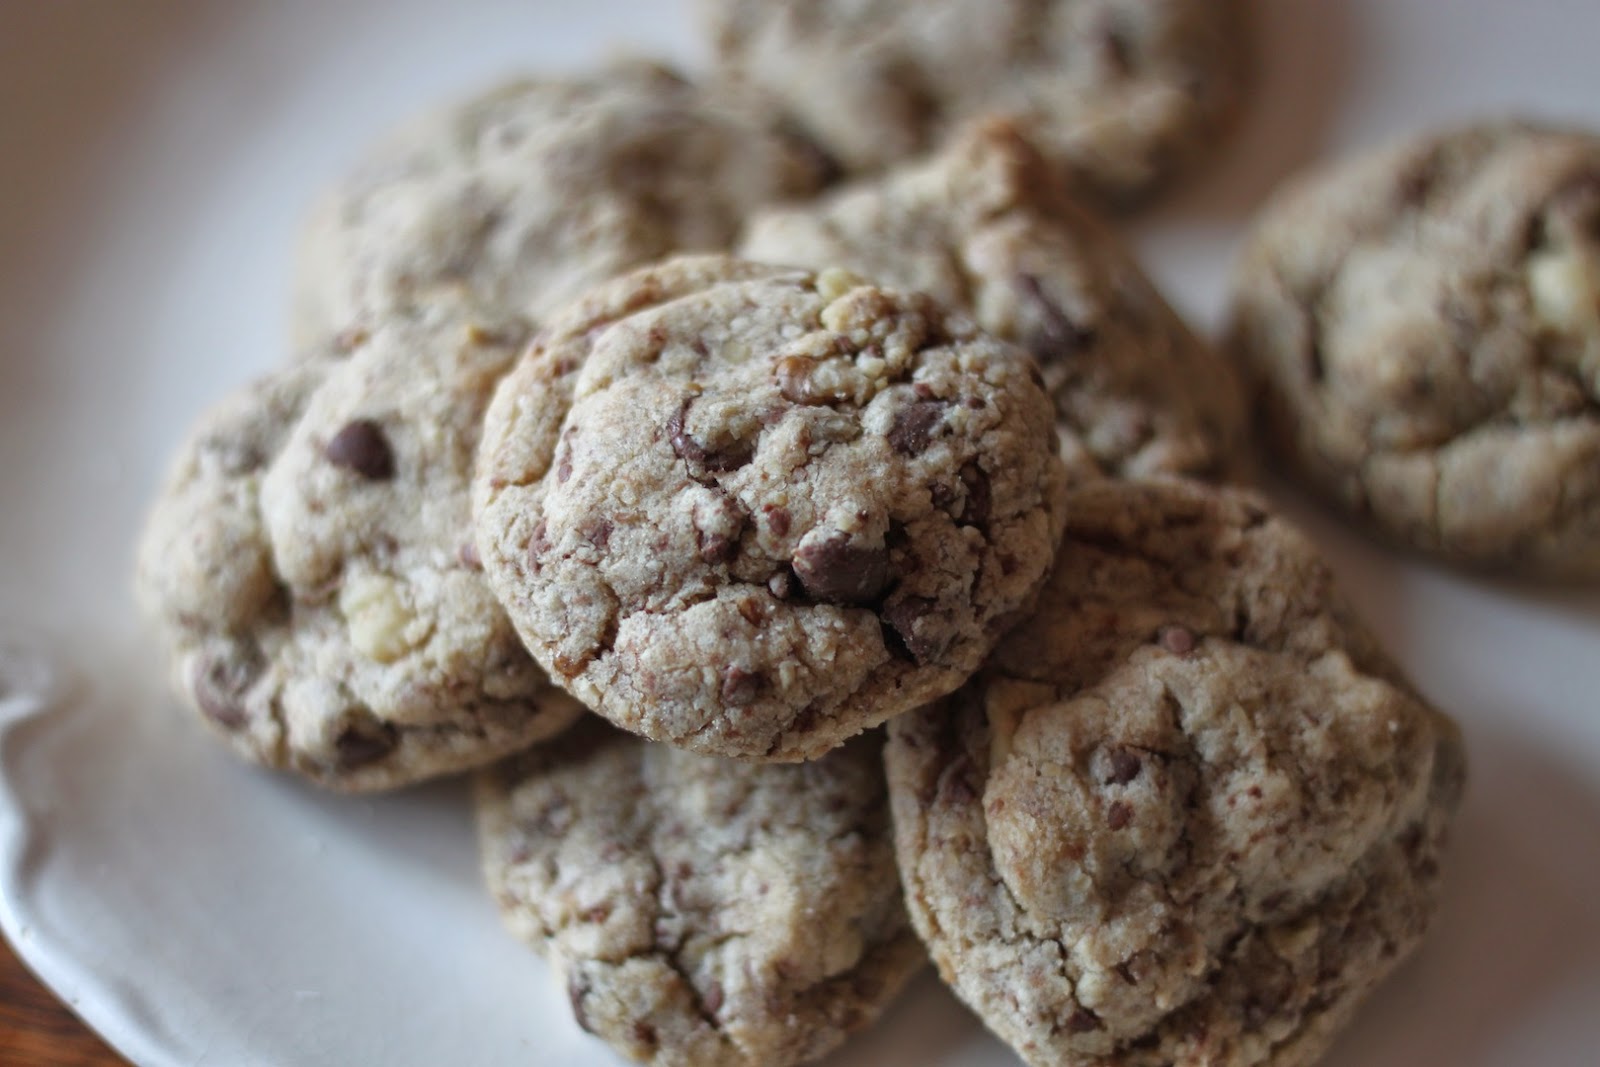
Yup, that's after 10 minutes. They look underdone but if you leave them to cool a few minutes, they settle into these delicious babies:


There they are! A little more complex than your average chocolate chip cookie but so worth it! Enjoy!


~Nina