
At my baby shower for Curly Girl, I received a set of onesie stickers. It turned out to be one of my favorite gifts because it created an awesome memory for me of her first year. Each month I would plan an outfit and a background and take a million pictures of Curly Girl to get the perfect shot of her wonderful smile.
With my GiGi, I knew
that I needed to do the project again and with all of my newly acquired sewing
skills, I wanted to up my game. After the first month with just a plain iron-on number, I came up with the idea of doing monthly themed onesies. So for the
second month (October), I created a pumpkin onesie and my Monthly Onesie Project was born!
For the first month before I started the project, I made the number 1 and a matching headband. Adorable, but clearly I could do better:

For October, a pumpkin:

For November, a turkey:

For December, a
Christmas tree:

And now for January, a
simple snowflake:

I’ve tried to keep it
simple. After all, I remember with Curly Girl's stickers sometimes I struggled to
just slap the thing on and get the pictures done. So here’s my basic process.
Step 1: Find an image to
trace
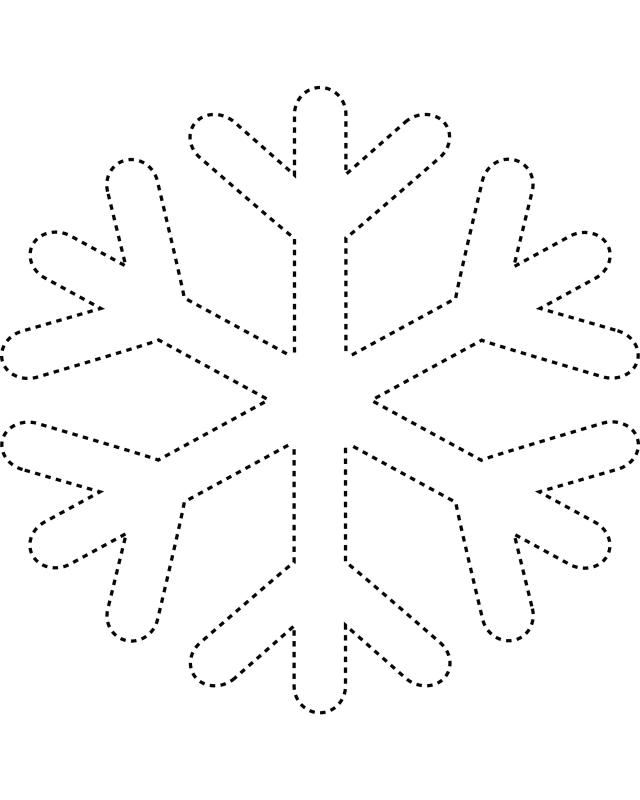
I copied the image in
Word and sized it to be about a 4-5” square so that it would fit on the onesie.
I printed the image out and cut it into pieces.
Step 2: Trace the pieces
backward onto fusible web.

Iron the fusible web
onto the back of your fabric. I do this before cutting them out because you can cut both the fusible web and fabric out at the same time. This makes the fabric stiff and easy to cut, which is helpful especially for delicate patterns (like a snowflake!)
Step 3: Cut out the pieces
from your fabric

That's pretty much it. :)
Step 4: Place your pieces and iron on to your
onesie

Peel the paper backing off of your fusible and place the pieces where you want them on the onesie. A tip I learned after my first project...be sure to go down 2 or so inches from the collar to account for baby's double-chin. I made a stem for my pumpkin, only to find it swallowed up by GiGi's adorable chunky chin.
Step 5: Embellish as
needed!

I generally sew a border around the edge of my shape to make sure it never comes lose from the fabric (although the snowflake had too many edges for that). I used a ribbon bow to decorate the simple pumpkin and made a ribbon tail for the turkey and glued on googley eyes. I put a star button at the top of my tree and used the rag-time fringing method to make my tree look more real. Use your creativity! (or a search on the internet or pinterest ;)
My goal with these onesies was to use whatever I happened to have in the house. So far I haven’t purchased anything to make my onesies. I’ve just used fabric scraps and whatever embellishments I had lying around.
More to come as GiGi grows!

for February, a heart.
No comments:
Post a Comment