
Fabric Grocery Bag Holder
Remember these? I remember one Christmas about 20 years ago my aunt made them out of kitchen towels for all of the families. Of course I didn't think that much of it then but now that I've got a family of my own, I realize, hey, this is pretty handy! ...and with today's beautiful fabrics, you can proudly display your old plastic grocery bags in a beautiful holder.
The pin was from a wonderful blog Make It and Love It.
Supplies:
1 piece of fabric 20x25 inches (or a combination of fabrics sewn together. I used Make It and Love It's measurements exactly but if you are a little short, no worries. I think the bag could go smaller.)
2 pieces of narrow elastic (1/4inch or smaller. I used 1/4inch.) Cut 11 inches and 6 1/2 inches
1 piece of ribbon 14 inches long
Matching thread
Here's how you do it:
Step 1: Cut your fabric
Again, you're trying to achieve a piece of fabric 20x25 inches. I didn't have quite enough of my striped fabric so I added a coordinating floral for the top and bottom. I cut my striped fabric 19.5x20 then I cut two additional strips 3.5x20. The extra half inch was for my seam allowances when adding the extra strips.

Step 2: Sew your pieces together
Sew two simple seams to attach your top and bottom if using multiple fabrics. Obviously skip this step if you're only using one fabric.


Be sure to iron your seams open like a good little sewer to prepare for the next step.
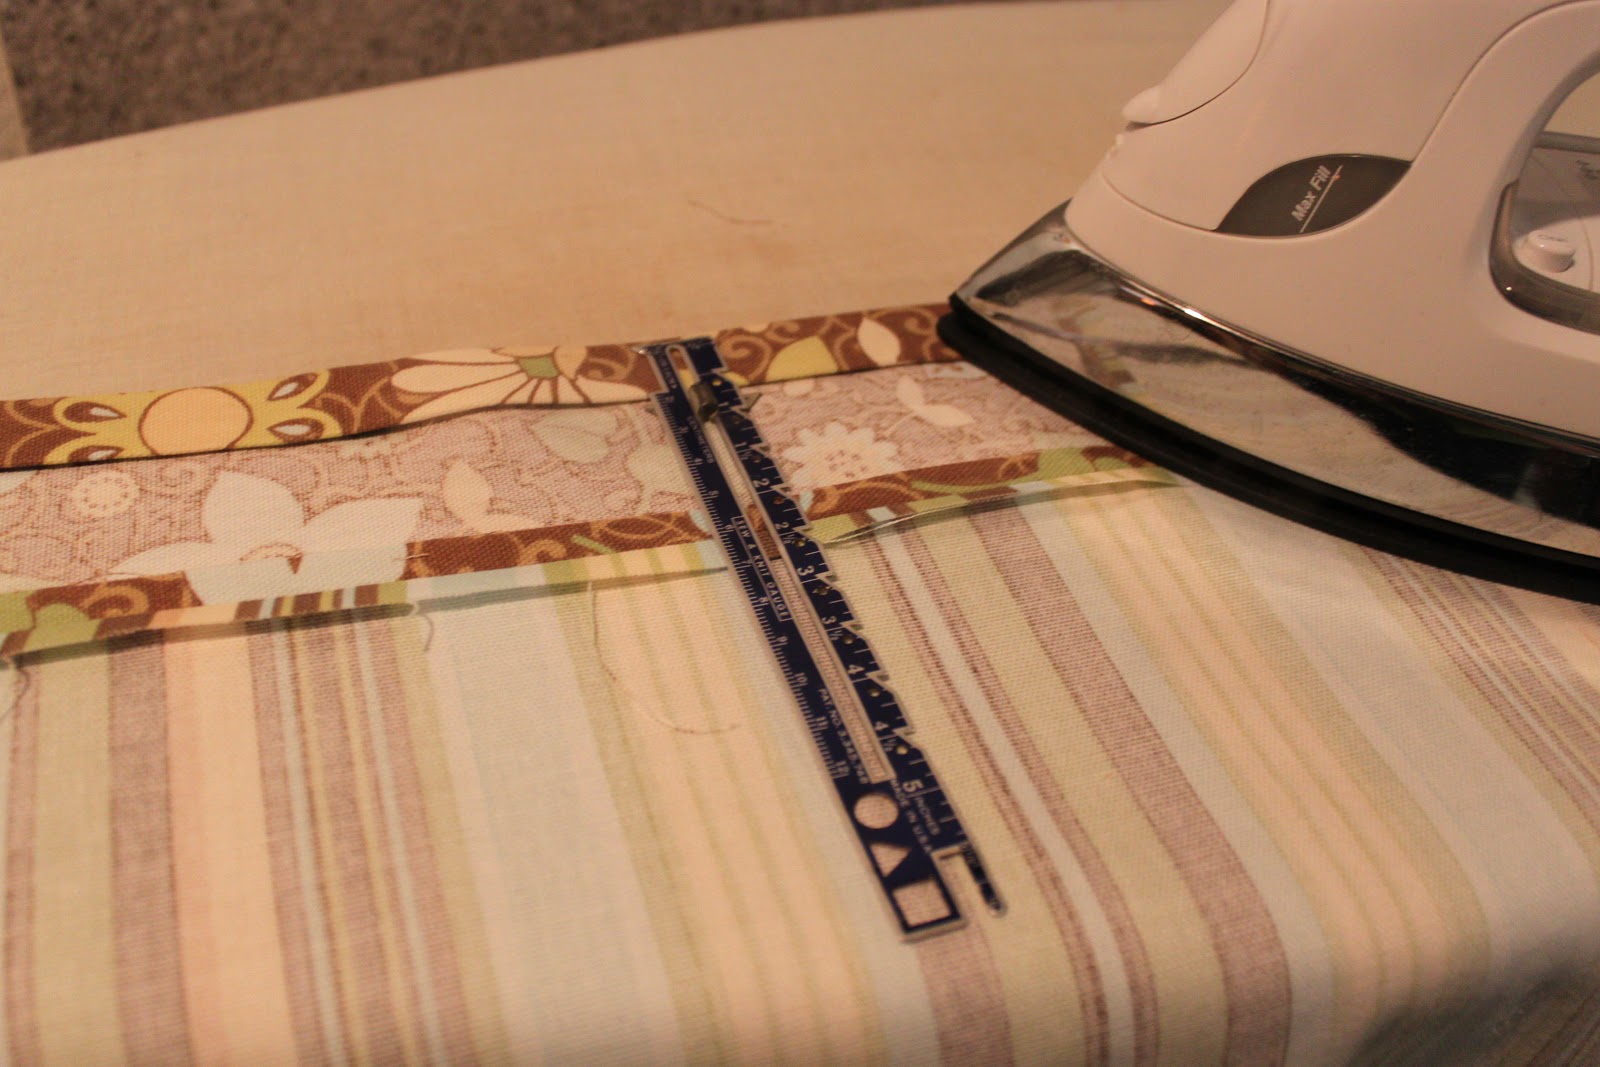
Step 3: Create a casing for your elastic
Using a nice hot iron, fold over each side of your fabric top and bottom about a 1/4 inch and press. Fold it over a second time for a 1/2 inch (or more if you want more room to fit your elastic through) and press again. Sew along the inside edge to create a pocket to run your elastic through.

night sewing if you can't tell by my total lack of light
of course that's when I get most of my work done. :)
Step 4: Place your elastic
Attach a safety pin to one end of your elastic and push it through your casing. Be sure to keep hold of the other end of your elastic. It will stretch as you go and bunch your fabric up. Place your 11" elastic on one side and the 6.5" on the other. Take a minute on each side to place a couple of stitches at each end of the casing opening to secure your elastic in place.

Step 5: Sew your long seam
Match your long sides with right sides together and sew the seam to create a big tube. I struggled a little with the elastic here since the top and bottom of the project were already bunched up.
ALTERNATIVE: I wanted to make it just like Make It and Love It but I think the next time I make one I'll do my elastic casing the more traditional way like you would with an elastic waist on pants or a skirt. In this case, you would sew your long seam first to create a tube. Then iron under your fabric as in step 3 to create the casing for your elastic. Sew along the inside edge to create your opening for the elastic. Leave a gap in the seam to run your safety pin and elastic. Sew the two ends of your elastic together to form a loop. Stitch your gap closed.

Here are the two ends with the elastic run through the casing and attached. You can see how the bunched up elastic can make sewing this a little challenging, especially if you're trying to neatly line up your seams.

I forgot to take a picture of matching up my seams... but here's the project after your seam is sewn and your project is turned right sides out.
Step 6: Attach your ribbon handle
Cut a piece of ribbon 14 inches long. Fold over about a 1/4 inch on each end and pin on opposite sides of the opening with the 11 inch elastic. I used a zig-zag stitch to attach the ribbon to your project. This (obviously) will be the top side of your bag where you'll stuff your bags. The bottom end with the 6 1/2 inch elastic will be where you pull your bags out. The small opening will only allow one bag to come out at a time.

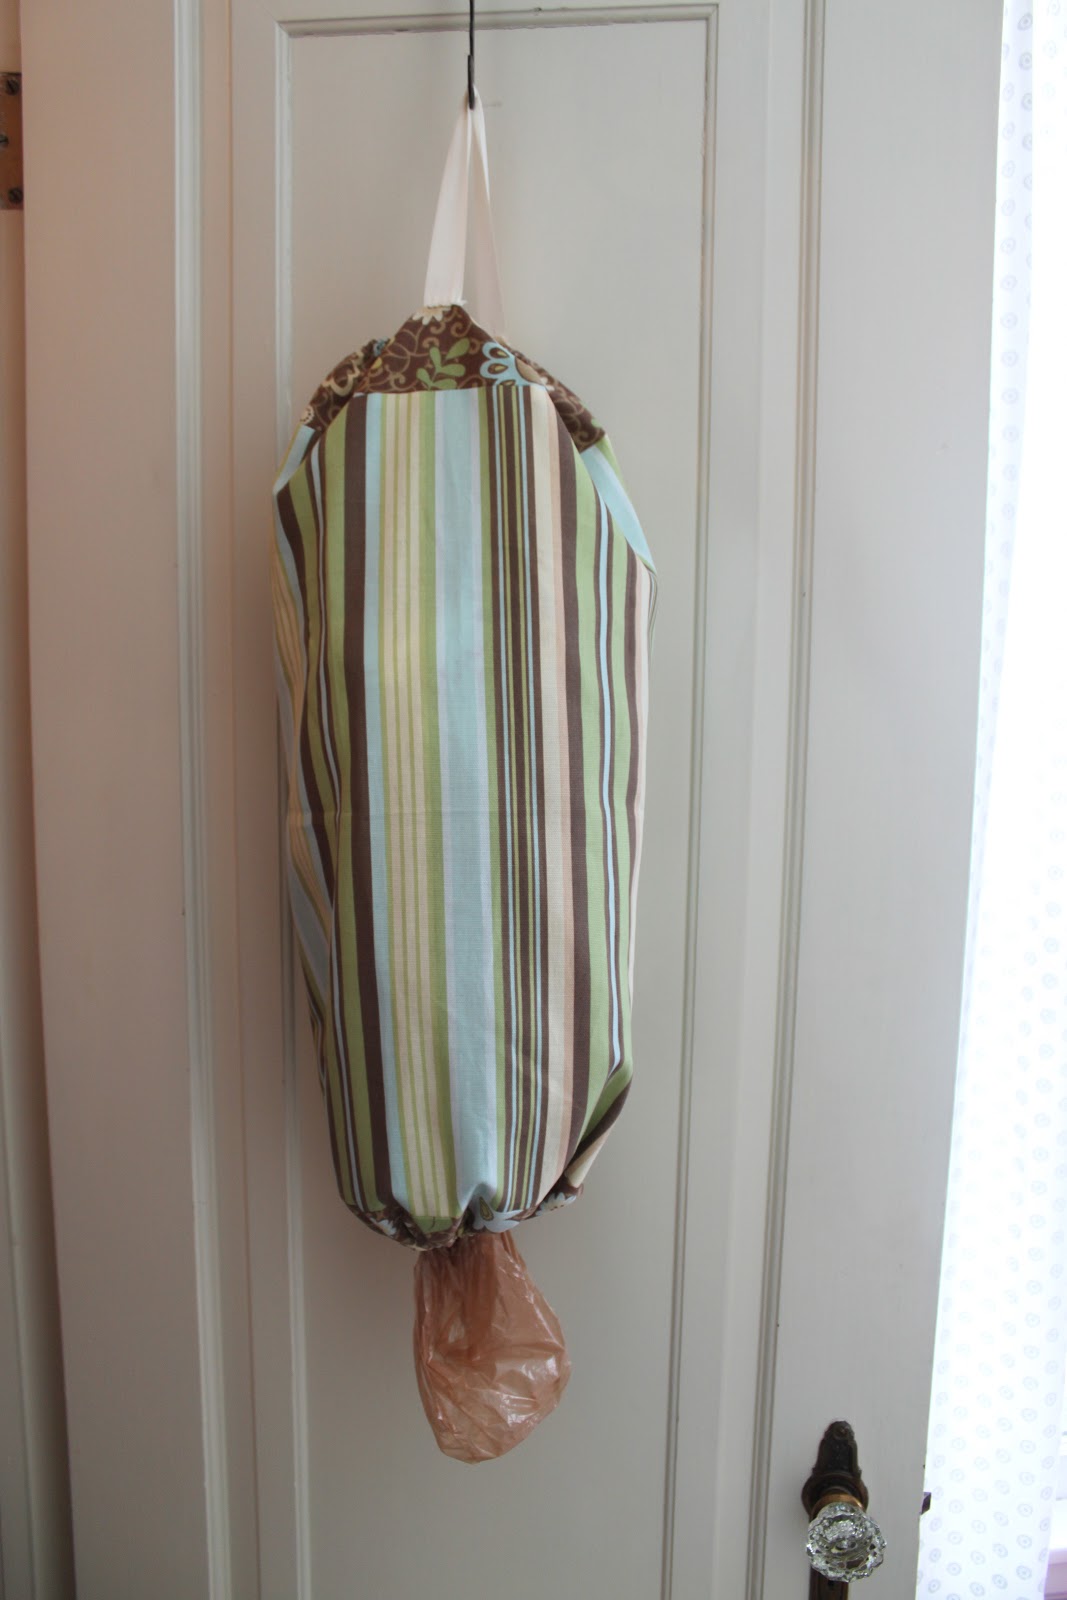

Amazing, huh?
Timeclock: This project only took me about 30 minutes!
No comments:
Post a Comment